Selasa, 07 November 2023

google spreadsheet dengan node red


node-red-contrib-google-sheets 1.1.2

nodered node to get, update, append, and clear google sheets.

npm install node-red-contrib-google-sheets

A basic node for reading and writing from/to google sheets.

Auth

To setup auth this node uses a google service account:

Create a new service account from This Page

Download a JSON credentials object for the service account.

Give that account access to the sheets API.

Share your sheet with the email address of the service account eg nodered@nodered-12345.iam.gserviceaccount.com

Sheets

The sheet ID can be found in the URL of your google sheet, for example in https://docs.google.com/spreadsheets/d/1UuVIH2O38XK0TfPMGHk0HG_ixGLtLk6WoBKh4YSrDm4/edit#gid=0

The ID would be 1UuVIH2O38XK0TfPMGHk0HG_ixGLtLk6WoBKh4YSrDm4

Cells

Google sheets uses the following syntax to reference a tab and cells of the worksheet

The format is Sheet1!A1:C3

Where Sheet1 is the Sheet name followed by a ! then the grid of the first cell eg A1 then a : and finally the grid of the last cell eg C3

A range of cells can be a Row at A1:A5, a Column A1:E1 or even a block such as A1:C3

Selasa, 31 Oktober 2023

cara setting port forwarding di modem huawei b312


 cara setting port forwarding di modem huawei b312

1. koneksikan ke modem huawei

2. tunggu sampai konek

3. jika sudah konek, buka browser

4. ketik ip modem 192.168.8.1

5. masukkan kata sandi admin

6. lakukan next" aja seperti barusan saya lakukan

7. bikin sandi login modem yg baru

8.pilih pengaturan jaringan - lalu ethernet - pengaturan ethernet

9. mode sambungan pilih ip statis

10. masukkan ip dari jaringan wan.

11. server dns utama isi 8.8.8.8

12. simpan

13. pilih lanjutan

14. pilih keamanan - uncentang firewall (non aktifkan firewall)

15. pilih server maya dan masukkan ip yang mau di forwardkan\

16. simpan

17. FINISH


thanks - Founder SIMOR

Kamis, 20 Juli 2023

function kirim telegram node red

 [

    {

        "id": "92caf8fe4730c41d",

        "type": "function",

        "z": "c4bef54c1ac65e88",

        "name": "send to telegram",

        "func": "var cb = msg.payload\nvar d = new Date();\nvar t = new Date();\nvar date = d.toLocaleDateString();\nvar time = t.toLocaleTimeString();\nvar a;\n\nif(cb == 1)\n{\n   \n    msg.payload = {}\n    msg.payload.chatId = 1383300284\n    msg.payload.type = \"message\";\n    msg.payload.content = \"Over Voltage \" + time + \" \" + date;\n  \n}\n\n\nreturn msg;",

        "outputs": 1,

        "noerr": 0,

        "initialize": "",

        "finalize": "",

        "libs": [],

        "x": 730,

        "y": 340,

        "wires": [

            [

                "ca3dba7f8f791834"

            ]

        ]

    }

]

Rabu, 28 Juni 2023

google home node red

 if (msg.payload.command == "action.devices.commands.OnOff" &&  msg.payload == false) {

    if (msg.payload.params.on) {

        msg.payload = true;


    } 

}


if (msg.payload.command == "action.devices.commands.OnOff" &&  msg.payload == true) {

    if (msg.payload.params.on) {

        msg.payload = false;


    } 

}

return msg;

Selasa, 06 Juni 2023

membuat datalogger esp32 ke google sheet

 1. Membuat dokumen di drive: new -> google sheet


2. membuat script

klik extension -> app script 

var sheet_id = "cek di link google sheet yg d buat";
var sheet_name = "logger";
function doGet(e){
var ss = SpreadsheetApp.openById(sheet_id);
var sheet = ss.getSheetByName(sheet_name);
var sensor = Number(e.parameter.sensor);
var date = Number(e.parameter.date);
sheet.appendRow([sensor,date]);
}

3. deploy - new deployment - pilih web app


4. setting who acces ganti anyone
5. kemudian deploy
6. test buka web browser
https://script.google.com/macros/s/AKfycbwglAL30Vufa0LRwj4diDBOe-Y12dtXWpyr23v4f67uRjs666LVkBTIhiYaNdvoTa1o/exec?sensor=35&date=1103


Sabtu, 20 Mei 2023

Kamis, 11 Mei 2023

Membuat project di arduino iot cloud dengan esp32

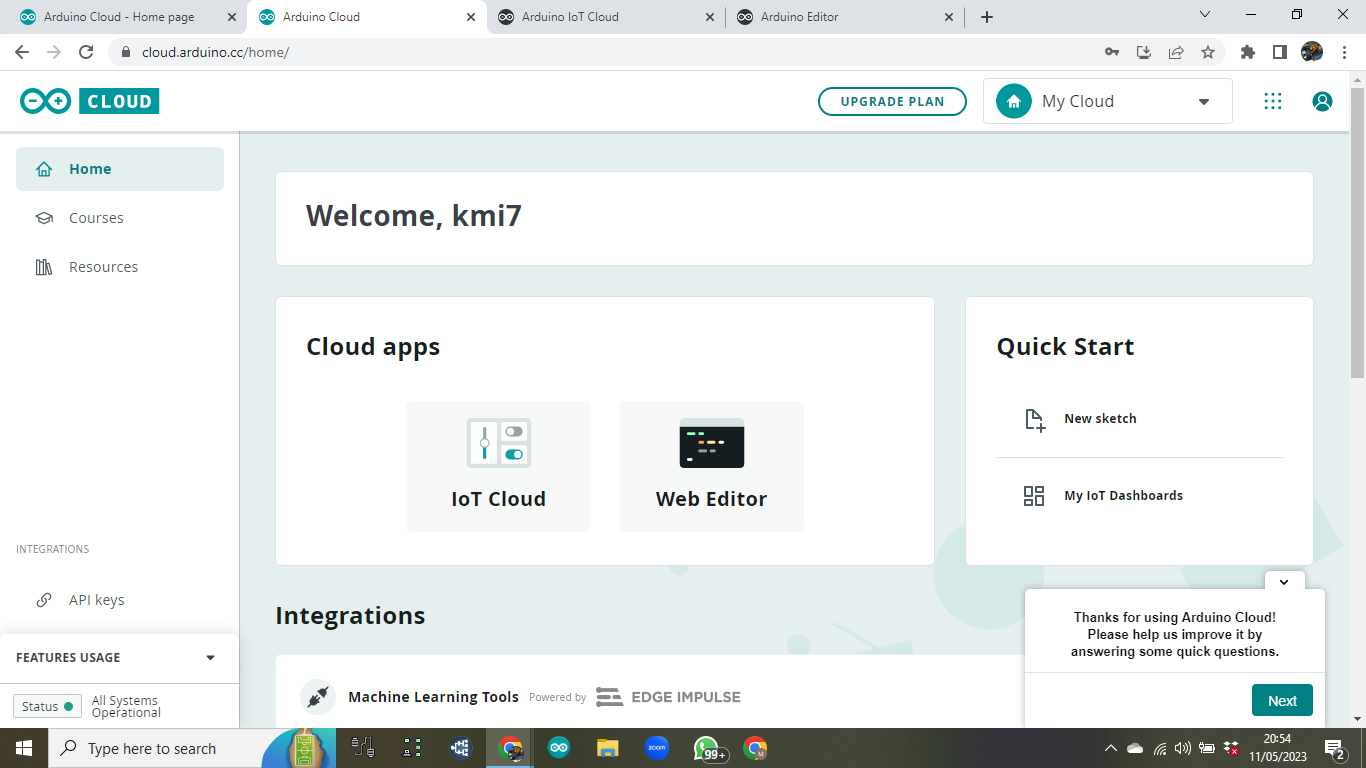
 1. pilih IoT Cloud


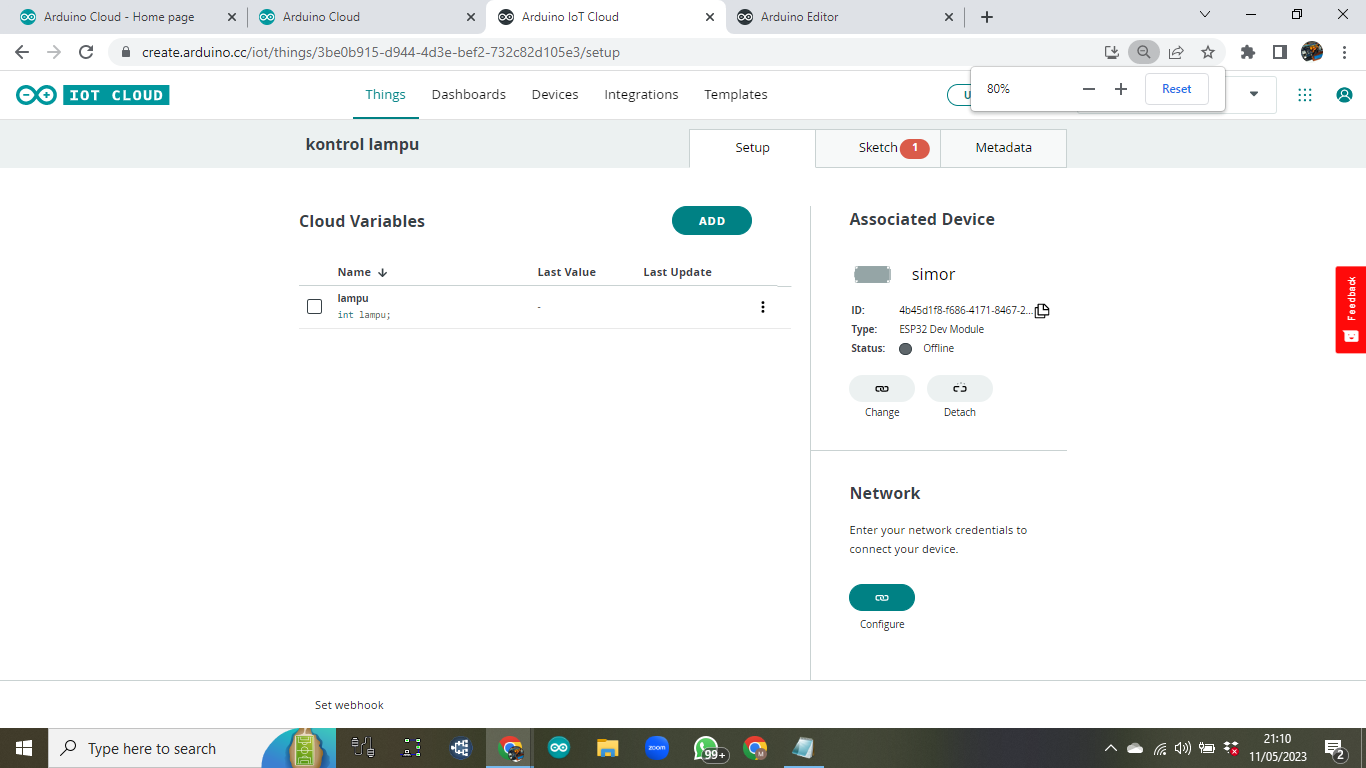
2. Create Thing


3. ketik nama project "kontrol lampu", kemudian klik add variable


4. isi  seperti bawah ini dan klik add variable


5. klik selec device


6. Set up new device


7. set up 3rd party device


8. pilih esp32 - dev module


9. ketik nama device "SIMOR"


10. catat secret key dan centang lalu  klik continue


11. done


12. set wifi, klik configure dibawah network


13. ketik nama wifi, password, dan secret key yangdi dapatkan tadi, klik done


14.  pilih dashboard dan build 


15. ketik nama dashboard kemudian klik add


16. pilih switch


17.  ketik nama widget dan link kan ke variable lampu


18. pilih thing - variable lalu klik link variable


19.  pilih thing kemudian sketch


20. full sketch

  1. /* 
  2.   Sketch generated by the Arduino IoT Cloud Thing "Untitled"
  3.   https://create.arduino.cc/cloud/things/3be0b915-d944-4d3e-bef2-732c82d105e3 
  4.   Arduino IoT Cloud Variables description
  5.   The following variables are automatically generated and updated when changes are made to the Thing
  6.   bool lampu;
  7.   Variables which are marked as READ/WRITE in the Cloud Thing will also have functions
  8.   which are called when their values are changed from the Dashboard.
  9.   These functions are generated with the Thing and added at the end of this sketch.
  10. */
  11. #include "thingProperties.h"
  12. #define relay 2 //setting pin kontrol
  13. void setup() {
  14.   // Initialize serial and wait for port to open:
  15.   Serial.begin(9600);
  16.   
  17.   pinMode(relay,OUTPUT);
  18.   // This delay gives the chance to wait for a Serial Monitor without blocking if none is found
  19.   delay(1500); 
  20.   // Defined in thingProperties.h
  21.   initProperties();
  22.   // Connect to Arduino IoT Cloud
  23.   ArduinoCloud.begin(ArduinoIoTPreferredConnection);
  24.   
  25.   /*
  26.      The following function allows you to obtain more information
  27.      related to the state of network and IoT Cloud connection and errors
  28.      the higher number the more granular information you’ll get.
  29.      The default is 0 (only errors).
  30.      Maximum is 4
  31.  */
  32.   setDebugMessageLevel(2);
  33.   ArduinoCloud.printDebugInfo();
  34. }
  35. void loop() {
  36.   ArduinoCloud.update();
  37.   // Your code here 
  38.   
  39.   
  40. }
  41. /*
  42.   Since Lampu is READ_WRITE variable, onLampuChange() is
  43.   executed every time a new value is received from IoT Cloud.
  44. */
  45. void onLampuChange()  {
  46.   // Add your code here to act upon Lampu change
  47.   if (lampu==1)
  48.  {
  49. digitalWrite(relay,HIGH); // update this pin if your led is connected with another gpio
  50.  }
  51. if (lampu==0)
  52.  {
  53. digitalWrite(relay,LOW);
  54.  }

  55. }

yang tambahan hanya warna merah

21. upload


22. tunggu sampai selesai sambil minum kopi 


membuat akun arduino iot cloud

 1.  buka web browser https://cloud.arduino.cc/ lalu klik Get Started


2. pilih Create One


3. isi tanggal lahir


4. Isi email,username, password dan centang lalu klik sign up


5. finish 


6. confirm now di inbox email


Selasa, 04 April 2023

error upload esp32

 Traceback (most recent call last):

  File "esptool.py", line 3682, in <module>

  File "esptool.py", line 3675, in _main

  File "esptool.py", line 3330, in main

  File "esptool.py", line 512, in connect

  File "esptool.py", line 492, in _connect_attempt

  File "esptool.py", line 431, in sync

  File "esptool.py", line 369, in command

  File "esptool.py", line 332, in write

  File "site-packages\serial\serialwin32.py", line 323, in write


cukup di uninstall driver...

cabut

colok lagi


BERESSS

Senin, 27 Februari 2023

ESP32


#define RXD2 16
#define TXD2 17
void setup() {
// Note the format for setting a serial port is as follows: Serial2.begin(baud-rate, protocol, RX pin, TX pin);
Serial.begin(115200);
//Serial1.begin(9600, SERIAL_8N1, RXD2, TXD2);
Serial2.begin(9600, SERIAL_8N1, RXD2, TXD2);
Serial.println("Serial Txd is on pin: "+String(TX));
Serial.println("Serial Rxd is on pin: "+String(RX));
}
void loop() { //Choose Serial1 or Serial2 as required
while (Serial2.available()) {
Serial.print(char(Serial2.read()));
}
}
/* Baud-rates available: 300, 600, 1200, 2400, 4800, 9600, 14400, 19200, 28800, 38400, 57600, or 115200, 256000, 512000, 962100
*
* Protocols available:
* SERIAL_5N1 5-bit No parity 1 stop bit
* SERIAL_6N1 6-bit No parity 1 stop bit
* SERIAL_7N1 7-bit No parity 1 stop bit
* SERIAL_8N1 (the default) 8-bit No parity 1 stop bit
* SERIAL_5N2 5-bit No parity 2 stop bits
* SERIAL_6N2 6-bit No parity 2 stop bits
* SERIAL_7N2 7-bit No parity 2 stop bits
* SERIAL_8N2 8-bit No parity 2 stop bits
* SERIAL_5E1 5-bit Even parity 1 stop bit
* SERIAL_6E1 6-bit Even parity 1 stop bit
* SERIAL_7E1 7-bit Even parity 1 stop bit
* SERIAL_8E1 8-bit Even parity 1 stop bit
* SERIAL_5E2 5-bit Even parity 2 stop bit
* SERIAL_6E2 6-bit Even parity 2 stop bit
* SERIAL_7E2 7-bit Even parity 2 stop bit
* SERIAL_8E2 8-bit Even parity 2 stop bit
* SERIAL_5O1 5-bit Odd parity 1 stop bit
* SERIAL_6O1 6-bit Odd parity 1 stop bit
* SERIAL_7O1 7-bit Odd parity 1 stop bit
* SERIAL_8O1 8-bit Odd parity 1 stop bit
* SERIAL_5O2 5-bit Odd parity 2 stop bit
* SERIAL_6O2 6-bit Odd parity 2 stop bit
* SERIAL_7O2 7-bit Odd parity 2 stop bit
* SERIAL_8O2 8-bit Odd parity 2 stop bit
*/

Uji sensor ultrasonic waterproof A01NYUB dengan ESP32

  apa itu sensor ultrasonic ?? Sensor jarak ultrasonik menentukan jarak ke target dengan mengukur selang waktu antara pengiriman dan penerim...