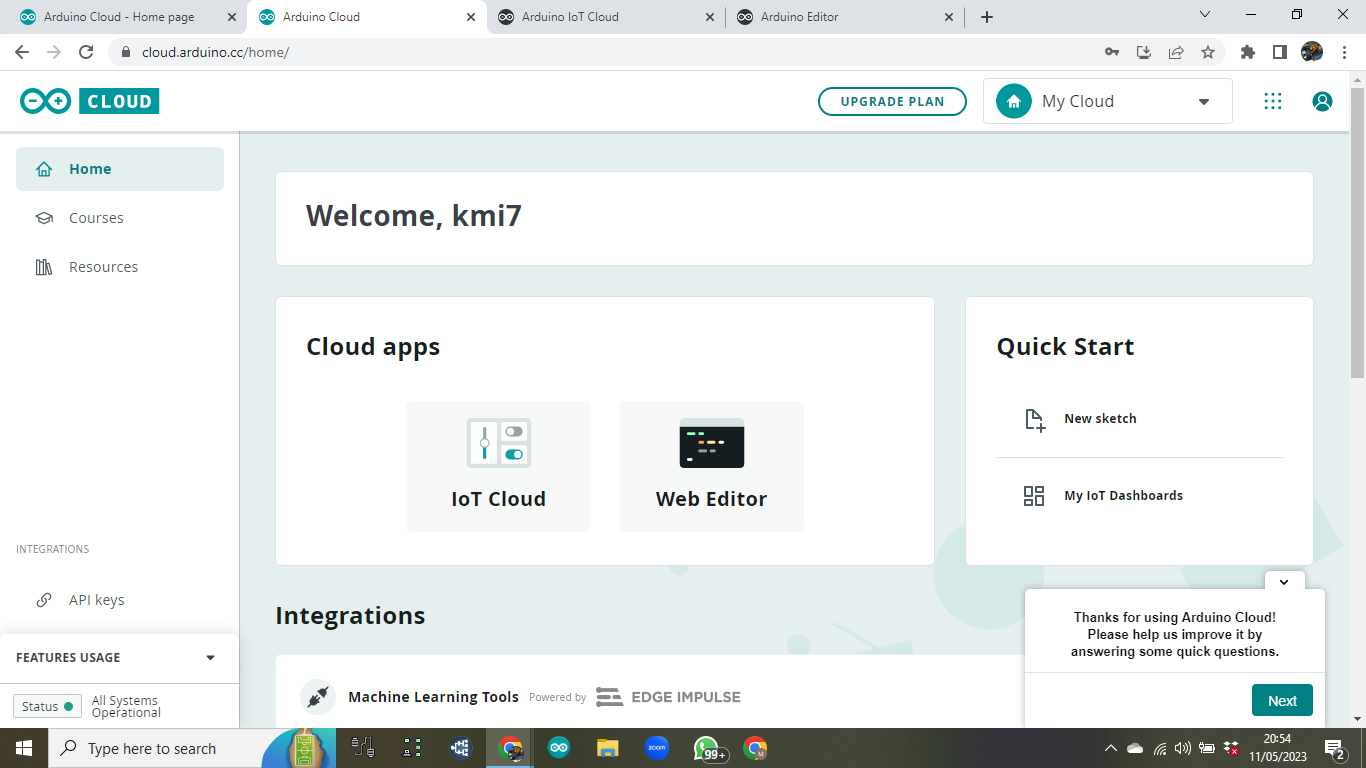
1. pilih IoT Cloud
2. Create Thing
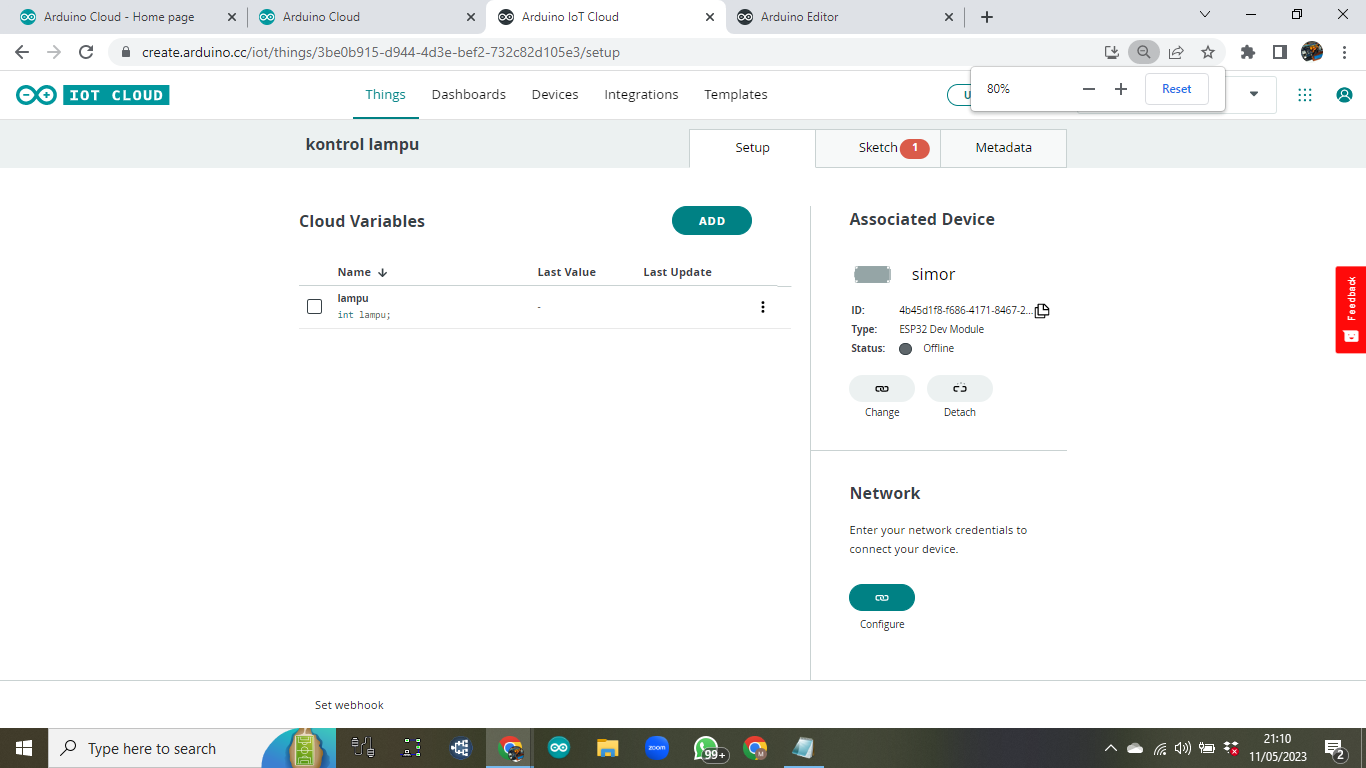
3. ketik nama project "kontrol lampu", kemudian klik add variable
4. isi seperti bawah ini dan klik add variable
5. klik selec device
6. Set up new device
8. pilih esp32 - dev module
10. catat secret key dan centang lalu klik continue
11. done
12. set wifi, klik configure dibawah network
13. ketik nama wifi, password, dan secret key yangdi dapatkan tadi, klik done
14. pilih dashboard dan build
16. pilih switch
17. ketik nama widget dan link kan ke variable lampu
18. pilih thing - variable lalu klik link variable
19. pilih thing kemudian sketch
20. full sketch
- /*
- Sketch generated by the Arduino IoT Cloud Thing "Untitled"
- https://create.arduino.cc/cloud/things/3be0b915-d944-4d3e-bef2-732c82d105e3
- Arduino IoT Cloud Variables description
- The following variables are automatically generated and updated when changes are made to the Thing
- bool lampu;
- Variables which are marked as READ/WRITE in the Cloud Thing will also have functions
- which are called when their values are changed from the Dashboard.
- These functions are generated with the Thing and added at the end of this sketch.
- */
- #include "thingProperties.h"
- #define relay 2 //setting pin kontrol
- void setup() {
- // Initialize serial and wait for port to open:
- Serial.begin(9600);
- pinMode(relay,OUTPUT);
- // This delay gives the chance to wait for a Serial Monitor without blocking if none is found
- delay(1500);
- // Defined in thingProperties.h
- initProperties();
- // Connect to Arduino IoT Cloud
- ArduinoCloud.begin(ArduinoIoTPreferredConnection);
- /*
- The following function allows you to obtain more information
- related to the state of network and IoT Cloud connection and errors
- the higher number the more granular information you’ll get.
- The default is 0 (only errors).
- Maximum is 4
- */
- setDebugMessageLevel(2);
- ArduinoCloud.printDebugInfo();
- }
- void loop() {
- ArduinoCloud.update();
- // Your code here
- }
- /*
- Since Lampu is READ_WRITE variable, onLampuChange() is
- executed every time a new value is received from IoT Cloud.
- */
- void onLampuChange() {
- // Add your code here to act upon Lampu change
- if (lampu==1)
- {
- digitalWrite(relay,HIGH); // update this pin if your led is connected with another gpio
- }
- if (lampu==0)
- {
- digitalWrite(relay,LOW);
- }
- }
yang tambahan hanya warna merah
21. upload


Tidak ada komentar:
Posting Komentar