1. cari botfather

2. ketik /start


sumber :
https://mntolia.com/10-free-public-private-mqtt-brokers-for-testing-prototyping/
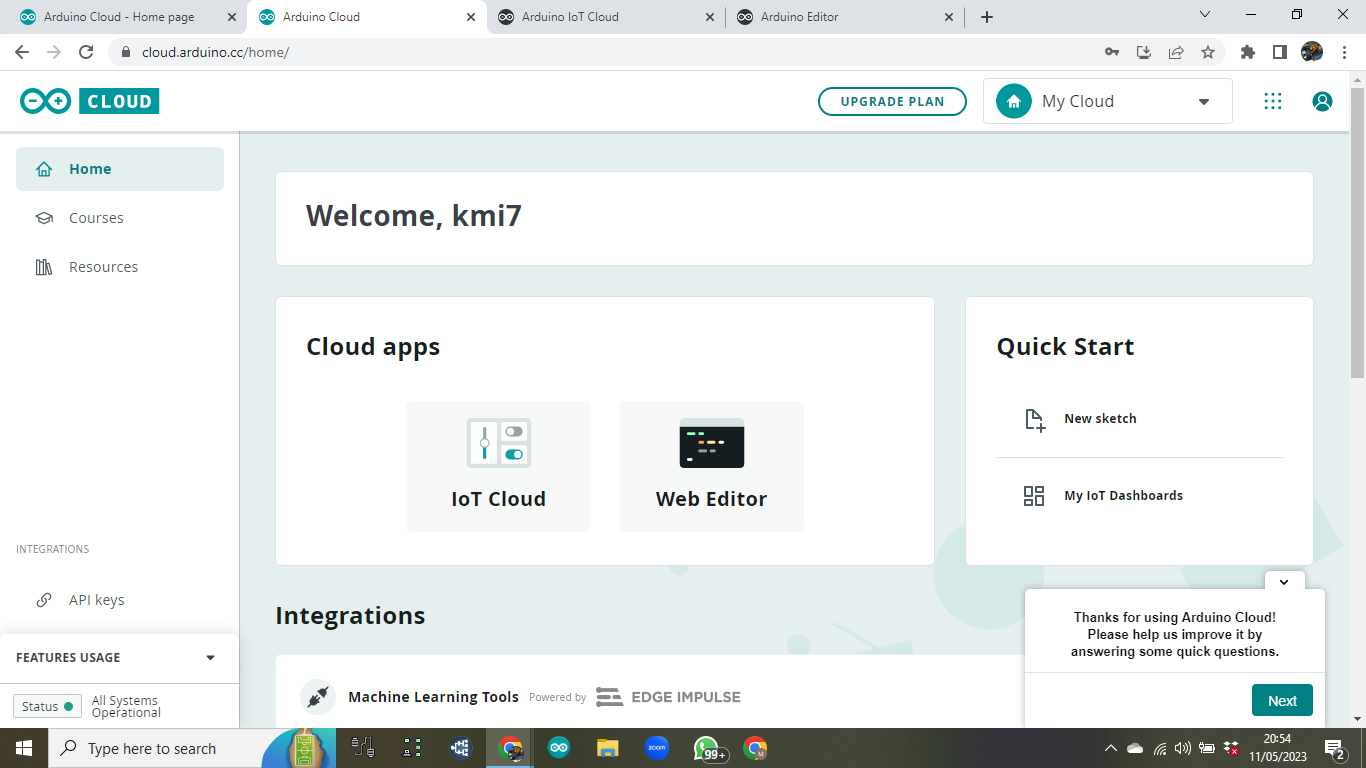
1. pilih IoT Cloud
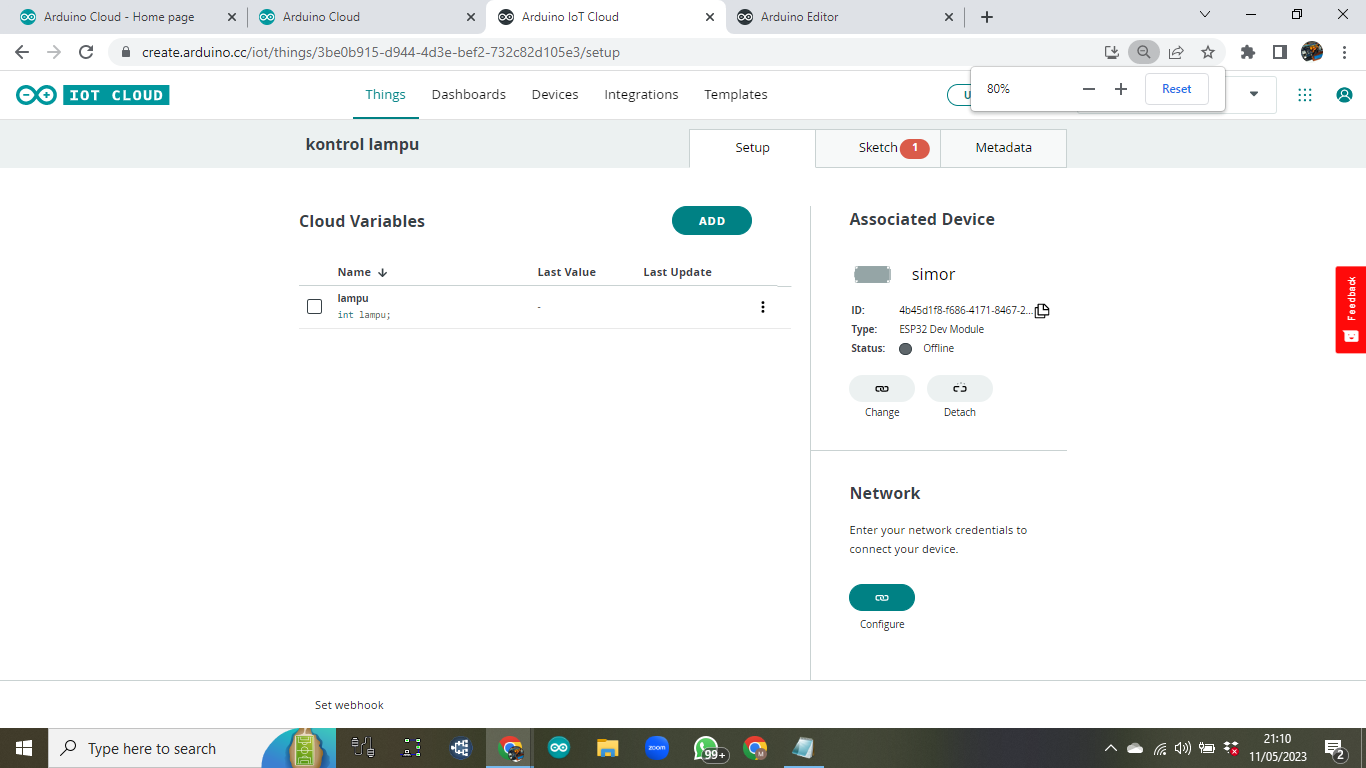
2. Create Thing


5. klik selec device

6. Set up new device


14. pilih dashboard dan build


18. pilih thing - variable lalu klik link variable

19. pilih thing kemudian sketch

20. full sketch
- /*
- Sketch generated by the Arduino IoT Cloud Thing "Untitled"
- https://create.arduino.cc/cloud/things/3be0b915-d944-4d3e-bef2-732c82d105e3
- Arduino IoT Cloud Variables description
- The following variables are automatically generated and updated when changes are made to the Thing
- bool lampu;
- Variables which are marked as READ/WRITE in the Cloud Thing will also have functions
- which are called when their values are changed from the Dashboard.
- These functions are generated with the Thing and added at the end of this sketch.
- */
- #include "thingProperties.h"
- #define relay 2 //setting pin kontrol
- void setup() {
- // Initialize serial and wait for port to open:
- Serial.begin(9600);
- pinMode(relay,OUTPUT);
- // This delay gives the chance to wait for a Serial Monitor without blocking if none is found
- delay(1500);
- // Defined in thingProperties.h
- initProperties();
- // Connect to Arduino IoT Cloud
- ArduinoCloud.begin(ArduinoIoTPreferredConnection);
- /*
- The following function allows you to obtain more information
- related to the state of network and IoT Cloud connection and errors
- the higher number the more granular information you’ll get.
- The default is 0 (only errors).
- Maximum is 4
- */
- setDebugMessageLevel(2);
- ArduinoCloud.printDebugInfo();
- }
- void loop() {
- ArduinoCloud.update();
- // Your code here
- }
- /*
- Since Lampu is READ_WRITE variable, onLampuChange() is
- executed every time a new value is received from IoT Cloud.
- */
- void onLampuChange() {
- // Add your code here to act upon Lampu change
- if (lampu==1)
- {
- digitalWrite(relay,HIGH); // update this pin if your led is connected with another gpio
- }
- if (lampu==0)
- {
- digitalWrite(relay,LOW);
- }
- }
yang tambahan hanya warna merah
21. upload


1. buka web browser https://cloud.arduino.cc/ lalu klik Get Started

2. pilih Create One


